Not sure how many other AST users are of the opinion that the damping is too harsh. I was, so too was Beef. My biggest issue was the high speed damping circuit, which does not work as the shock was designed for as it is back-to-front, pulling rather than pushing on compression, hence you end up with adjustable high-speed rebound adjustment rather than high-speed compression adjustment.
Beef and I went to see the 'old AST UK' in Cheltenham, or ACD Motorsport as they are now called. AST UK are now based in Bristol, however they don't have the experience that Curtis (now under ACD) has with the AST product, especially related to Buell.
The shocks were serviced and the shim stacks modified to reduce compression and rebound damping with a focus on making the compression compliant to shocks in the road surface with a high speed damping capability.
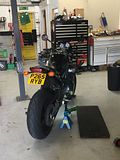
Lots of pics and I'm sure will just pass at this point, however read on, as my AST was doomed to imminent failure, the rear eye was about to pull off the damper rod (oo-err). Worth getting your shock checked...
Beef was up first... Ooo nasty...
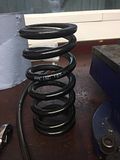
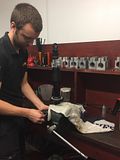
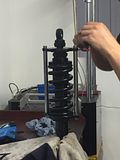
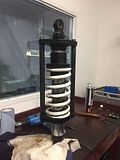
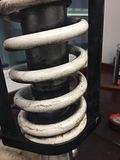
Beef's shock had the spring removed before it was put on the shock dyno. To get the spring off, the top collar had to be removed and to do this the top (or rear, when on the bike) eye had to be removed. This needed the nitrogen to be released. Not a DIY job to powdercoat your spring, take note...:

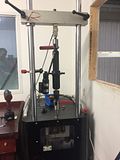
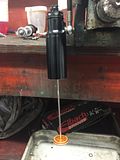
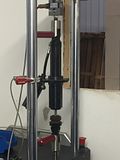
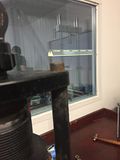
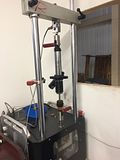
The shock dyno cycled the damper at a range of frequencies to simulate use at varying speeds, with the resulting transmitted load detected by the S shaped load cell sitting above the top shock eye. This gave us a baseline for the modifications:

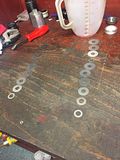
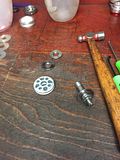
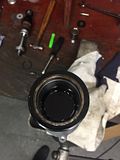
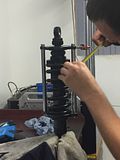
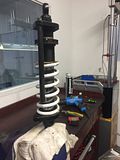
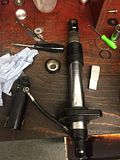
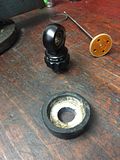
After the baseline run, the nitrogen was discharged again and the damper stripped. The shim stack is shown laid out (all the 'washers'):
The chosen fluid is an aerospace quality hydraulic fluid, something that would normally be moving control surfaces or landing gear screws on your holiday (or war) jet:

Then, when the shim stack was revised, the shock was back on the dyno to understand the change:
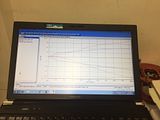
Although, not shown here, the new max damping was more or less the same as the old min damping, for both compression and rebound, however the damping was lower at the higher frequency of operation. This meant that Beef had a lot more adjustment to give him lower damping.
Then, the shock was assembled:
And fitted to the bike:
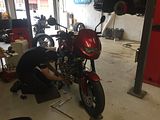
Beef turning the footpegs around (had been used to support the bike on axle stands):

At this point, Beef took it for a test ride and was much happier with the bike. The damping, on its lowest settings, was a bit underdamped for him.
Shortly after, he increased his damping and left to crack on with fitting his kitchen...
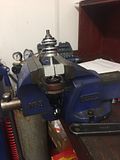
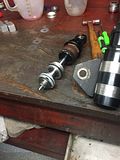
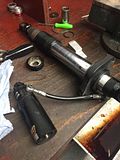
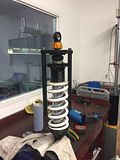
My shock was up next:

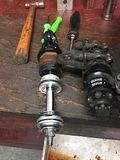
Mine wasn't as clean as Beef's as mine has seen all weathers (

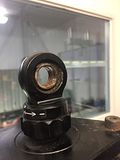
). Note the rose joint full of rust, this is sealed (not very well) by a pair of O-rings sitting behind a pair of collets. I think I'll be stripping mine to put some grease on them to make the seal a little more waterproof:
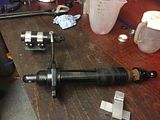
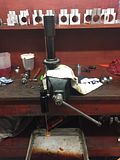
It was then stripped in readiness for the shock dyno:
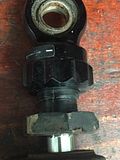
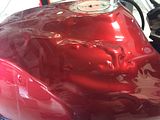
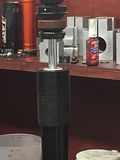
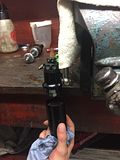
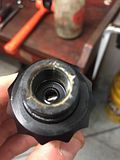
But on inspection, it was found that the threaded portion of the rear shock eye was cracked (


). Failure of this would have resulted in me coming a cropper, undoubtedly. This was worth the trip alone.
At this point, I was so hungry I walked the half a mile or so to the nearest cafe for a bacon and egg sandwich and toffee cake, washed down with a white americano (white coffee in old money).
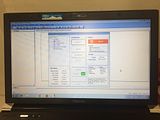
When I got back, the shock was ready to be fitted. I had a quick look at the dyno runs. Initially mine wasn't as overdamped as Beef's was, however the new shim stack had reduced the damping to the same levels as Beef's now was. However, interestingly (to some maybe), although min damping was the same, I had a higher rebound damping setting than Beef's.
I was bored of taking pics by this point... The shock was fitted to the bike with the minimum damping settings and was noticeably better.
A big thanks to James, Steve and Curtis at ACD Motorsport for a very educational day...


 enjoyed the write up Nick, thanks for sharing